Recipe
November 3, 2023
Christmas Peppermint Bark
The Mint Chocolate Candy with a Twist!
Share


iStockPhoto / VeselovaElena
This recipe was provided by Jamielyn Nye, who is a cookbook author and food blogger at I Heart Naptime. For more easy, family-friendly recipes visit IHeartNaptime.net
Peppermint Bark, my jolly friends, is a top pick in Santa's dessert workshop! Bursting with delightful Christmas flavors, this mint chocolate candy is the perfect addition to every holiday platter. And it’s so easy! In just 30 minutes and with 4 simple ingredients, you'll create a festive masterpiece. Not to mention, it's a splendid holiday gift. Homemade beats store-bought, hands down. It's one of the yummiest and simplest Christmas treats you'll ever make!
Peppermint Bark Recipe
Prep time: 10 mins
Cook time: 5 mins
Chill time: 30 mins
Total time: 45 mins
Servings: 18
Ingredients
5 candy canes (or 12 hard peppermint candies)
10 ounces dark chocolate melting wafers (or high quality bakers chocolate)
10 ounces white melting wafers (or high quality bakers chocolate)
½ teaspoon peppermint extract
Instructions
Line a 9×9" baking sheet with foil and press out any bubbles or wrinkles.
Crush the candy canes, either by placing them in a ziploc bag and going over them with a rolling pin, or by using a food processor or blender.
Melt the dark chocolate in a microwave-safe bowl or with a double broiler. Stir until smooth and then pour it into the pan.
Tap the dish against the counter to remove any air bubbles. Set aside. Let sit for 5-10 minutes to firm up a bit, but make sure you don’t let it harden.
Melt the white chocolate, then mix in the peppermint extract.
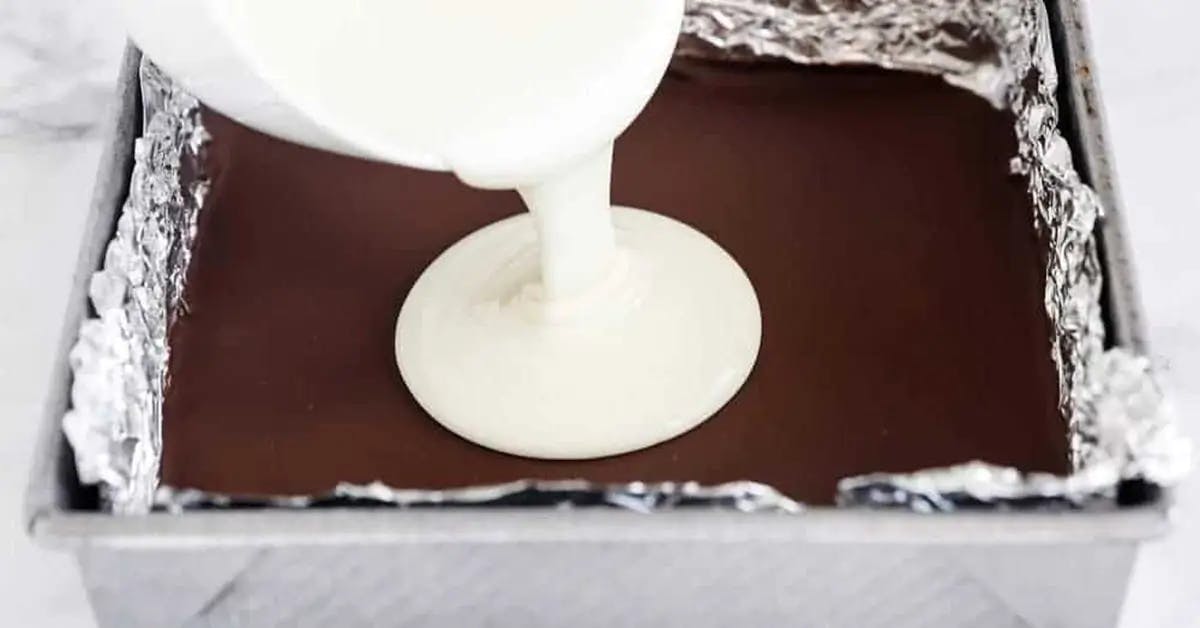
Pour the white chocolate mixture over the dark chocolate and tap the dish against the counter again to remove any bubbles.
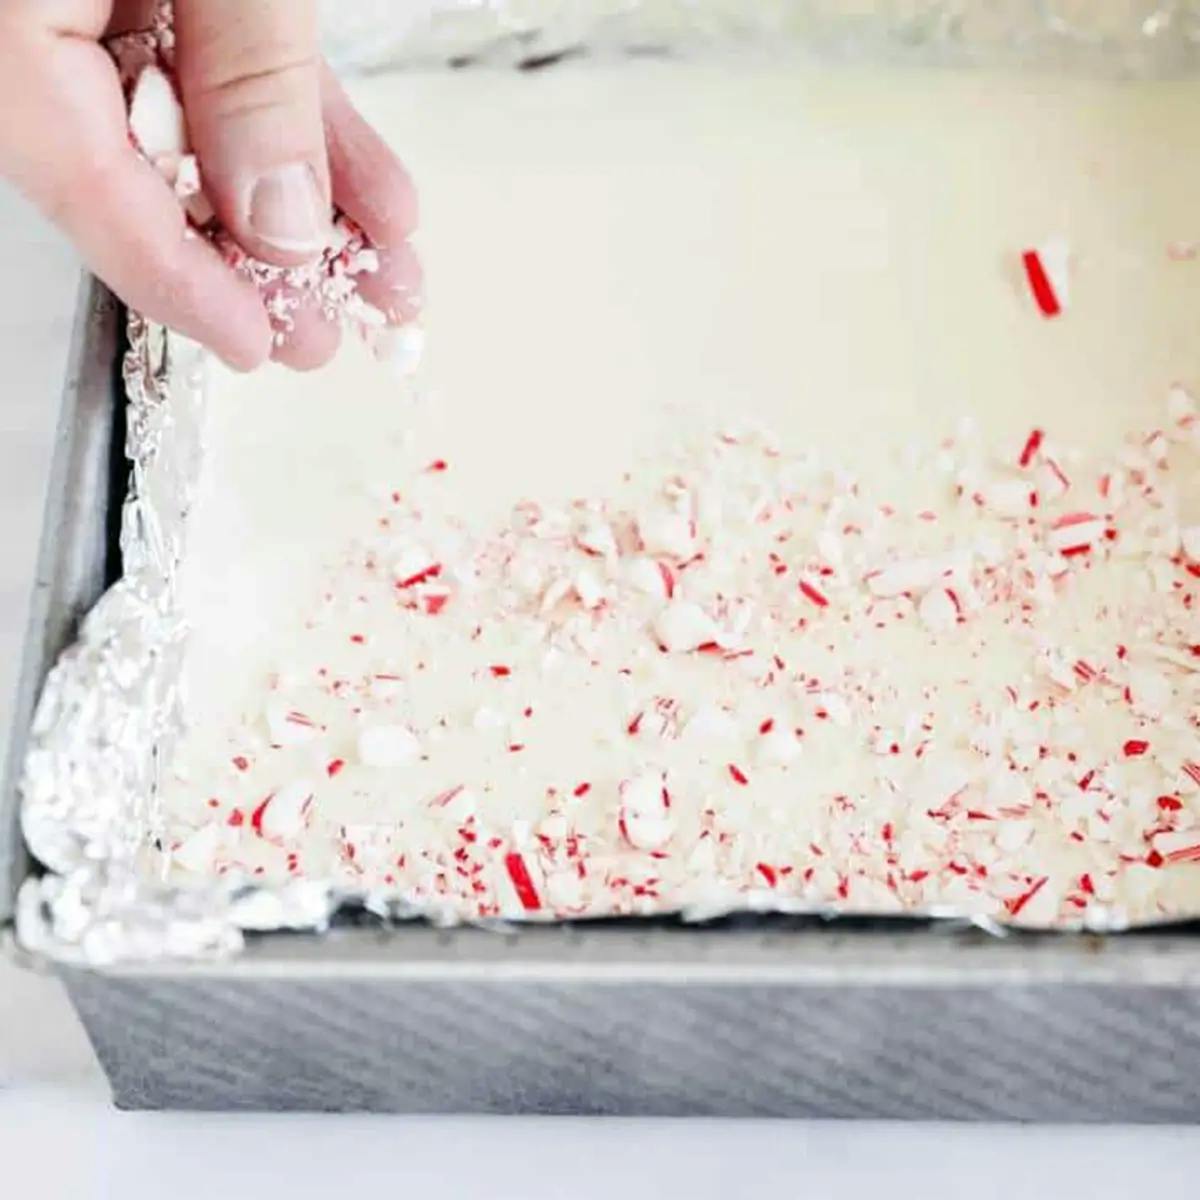
Immediately sprinkle the crushed candy canes over top and gently press them into the white chocolate.
Set aside until the Peppermint Bark has firmed up (about 30 minutes to an hour).
Lift the bark out of the pan and break into pieces. Store in an airtight container.
Photos
Step 2: Crushing the candy canes in a food processor.


Step 6: Pouring the white chocolate over the dark chocolate.

Step 7: Adding crushed candy canes to the top of the peppermint bark.

Notes
Chocolate: It’s important to use high quality chocolate for this Christmas Bark recipe. Absolutely don’t use chocolate chips - they won’t set correctly and you’ll be left with a gooey mess.
Leave some foil hanging over the edges so that it’s easy to lift the bark out of the pan.
Be mindful not to let the dark chocolate fully harden; it should set but not become too firm. If it hardens completely, the white chocolate won't adhere properly.
Storage
This Peppermint Bark maintains its freshness for up to 2 weeks in an airtight container at room temperature. Refrigerate, and it can last for about 3 weeks. It's a perfect make-ahead treat for the holiday season. So go ahead, whip up a batch, and spread the joy!
SANTA.COM… MAKING HAPPY HAPPEN™
You Might Enjoy...
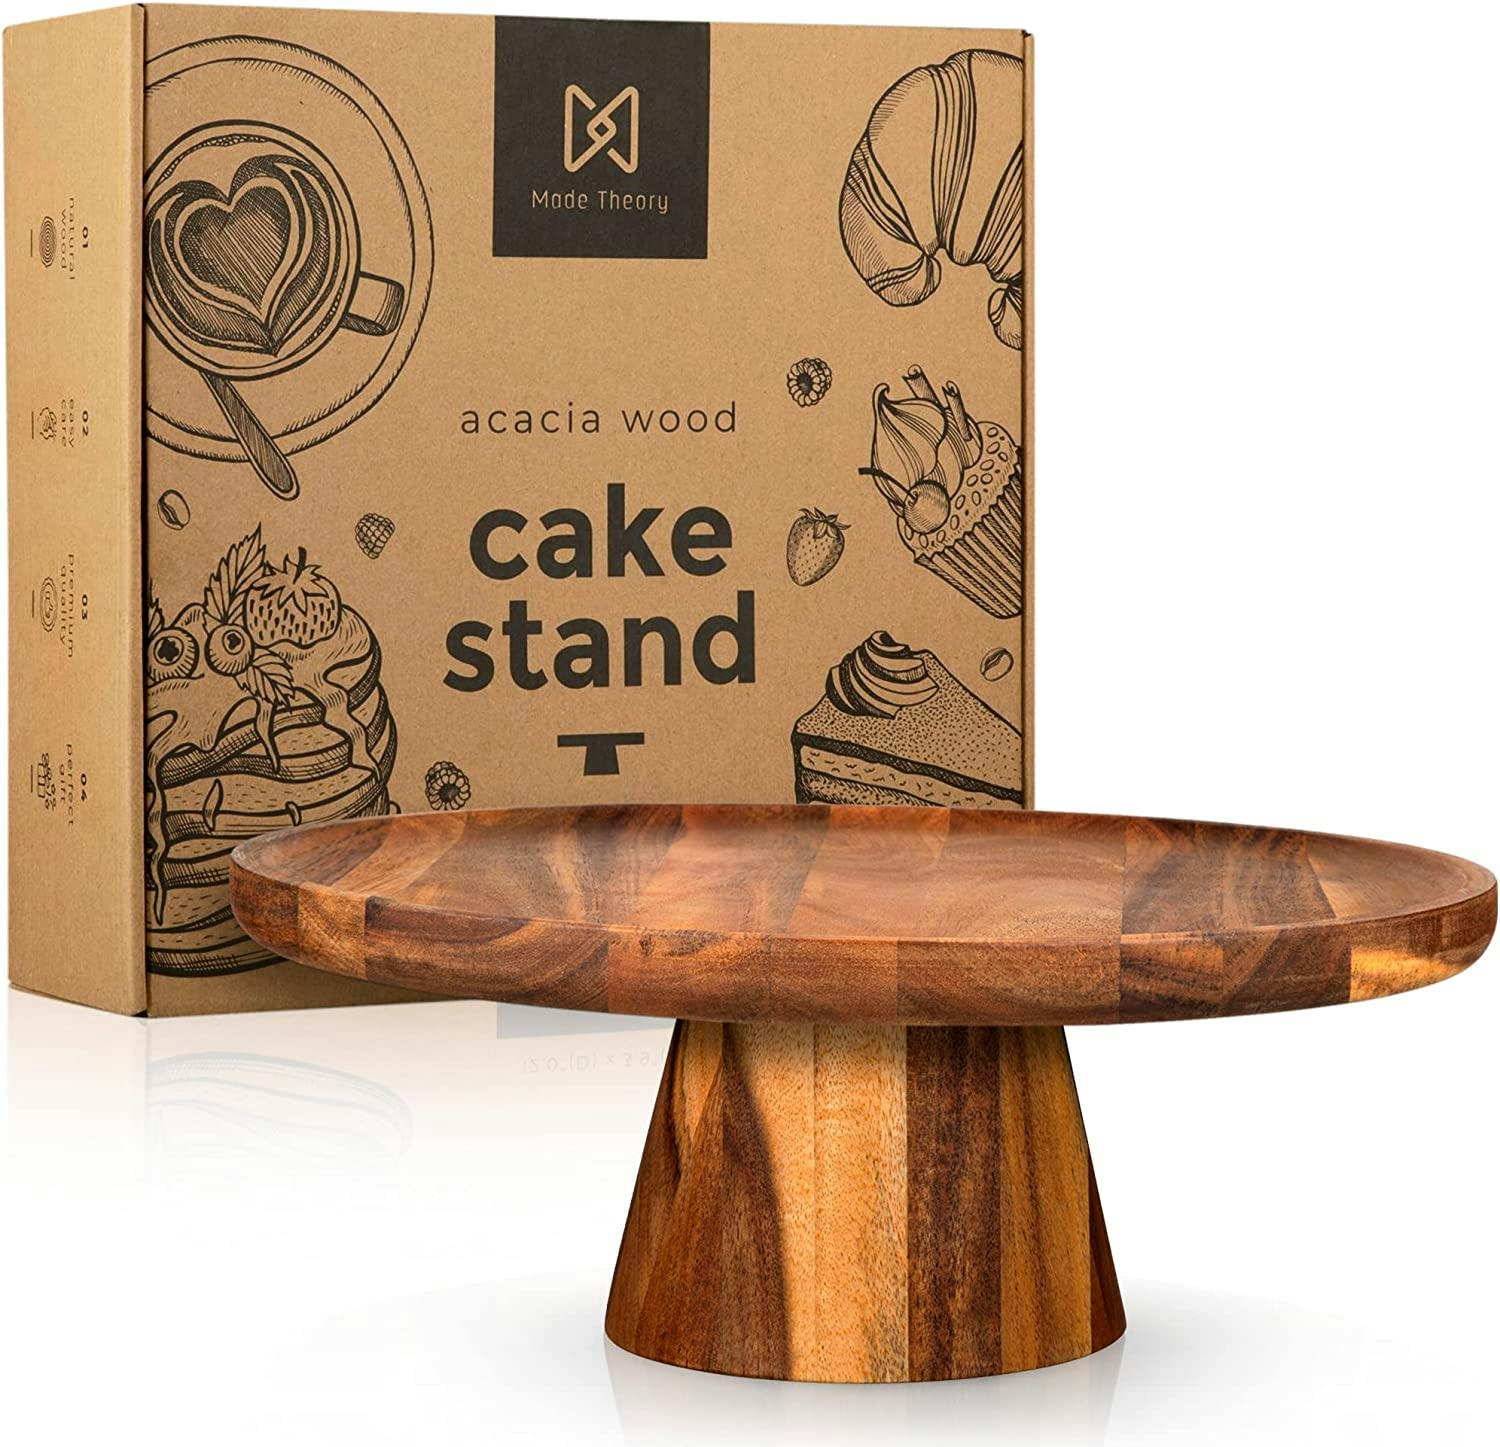
Acacia Wood Cake Stand
$36.99
Our wooden cake stand is made of high quality and long lasting acacia wood. It has a splinter-free, food-grade construction, that makes it both durable and safe to use. The cake stand features raised tray edges that prevent spillage and a large tray that allows you to display proudly all your delicious dishes.